Monday, November 7, 2011

Birthday Madness

Today, my youngest turns 6. This is the first time in nearly 14 years that we haven't had someone under the age of 6 in the house. I admit, I am a little sad that the era of little people is over, but I love the slightly bigger people they are turning into.

For little man's birthday, he requested an Angry Birds cake. Being the Angry Birds lover I am, I couldn't say no, but being fondant-ignorant, I wasn't quite sure if I could do it. Pinterest, Google Images and Amazon (for the toppers) saved the day.

The cake we originally assembled when we got to the bowling alley:


After the tower toppled just a few moments later, in true Angry Birds style, I scaled it back to just one tier and reinforced with some extra frosting:

Gardening part 3

Part 3 of probably many, many, just a warning in advance.

This one was my easiest gardening project yet and I got the idea off Pinterest. The versions there have the shoe organizer hanging off a pole or fence and I don't have either on my patio. I didn't want to anchor it to the screen frame, stucco or risk it ripping apart the soffit, gutter or whatever else that stuff is called around the edge of the roof.

I did have two long boards that were warped and needed to be replaced from the kids' robotics table. Perfect! I stapled the shoe organizer to that down each side. October 10th:


It took me about 15 minutes to paint the boards with some extra paint I had laying around and about 2 minutes to load the staple gun and attach it. I filled the dirt with a cup and planted seeds. Super easy! And I did it in maybe 45 minutes with drying time while my boys played outside.

And now, November 7th, exactly four weeks later. The only difference is that I added a piece of pvc that I had lying around to make the posts stand a little straighter. There is a ton of growth and all I've had to do is water it a handful of times:


I know I won't be able to use it in the summer because it would dry out in a matter of minutes, but lettuce, peas and most other small plants won't grow here during the hot months anyway. It is the perfect winter garden here!

Friday, October 21, 2011

gardening part 2 - hydroponics

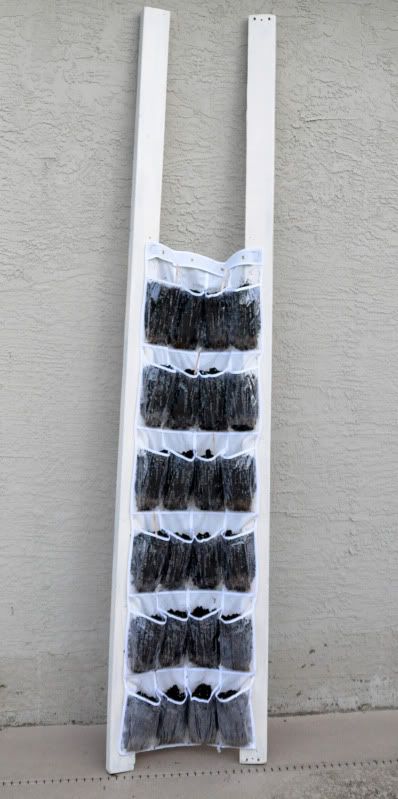
Since space is limited and I mostly garden on a pool deck, ie no dirt, I've been looking into urban solutions. It feels like so long ago that I can't remember what exactly sparked my interest in hydroponics, even though I've actually been at it less than a year! So far, I've kept it very simple with bubbler systems (aka bubbleponics, deep water culture) though I've done a ton of research into other methods like NFT, ebb and flow and so on.

Since I can never do anything halfway it seems, I jumped into this and in short time ended up with three rubbermaid totes and 5 five gallon buckets.

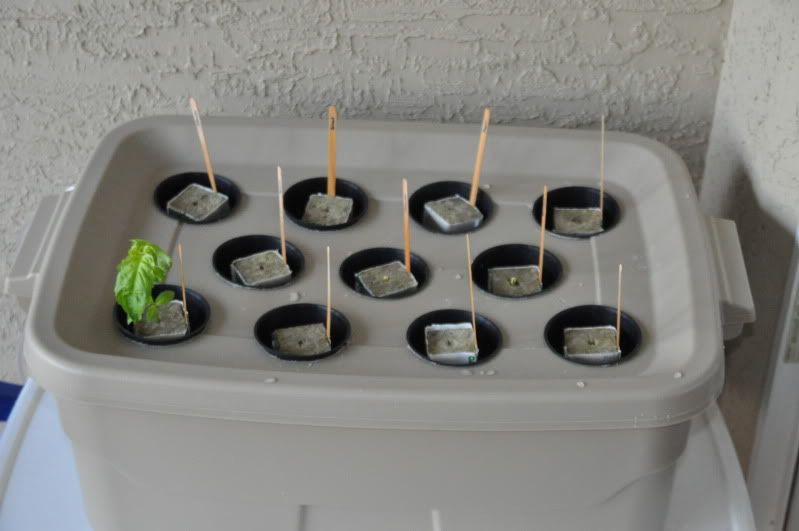
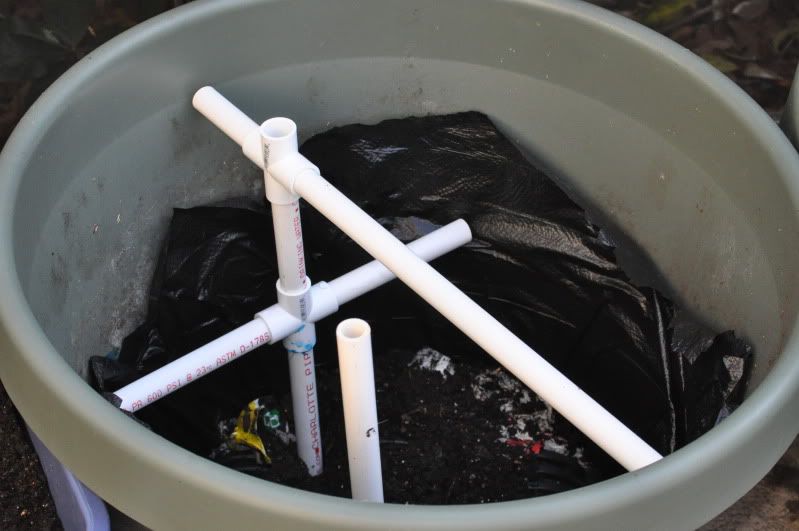
My first attempt, starting with a simple Rubbermaid tote. Two lines in with aeration tubes from the pet store:


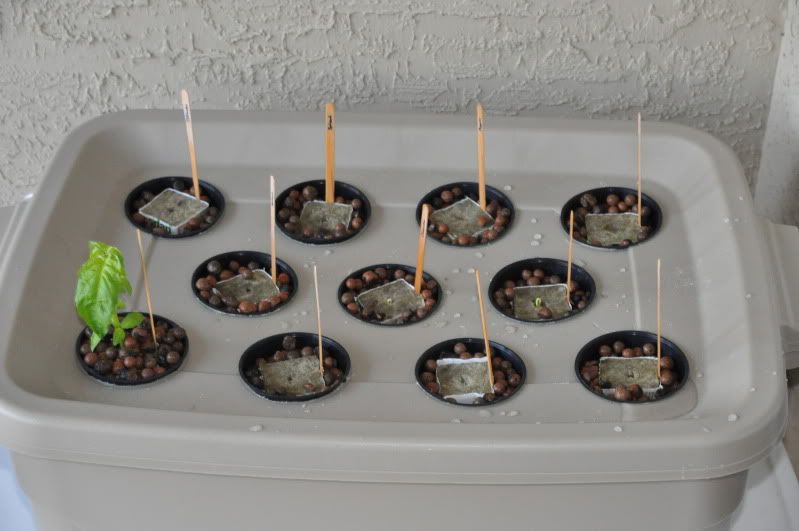
 Next is the lid with holes cut out to fit net pots in:


The black cups are the net pots. The little cubes are rockwool for seed starting. I have since experimented with different ways to start seeds and nothing works a whole lot better than another.

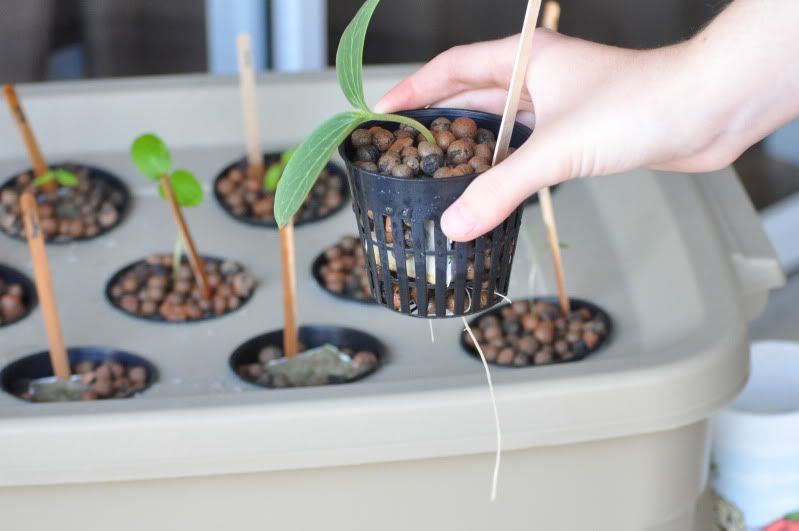
Then fill the rest of the cup with hydroton:


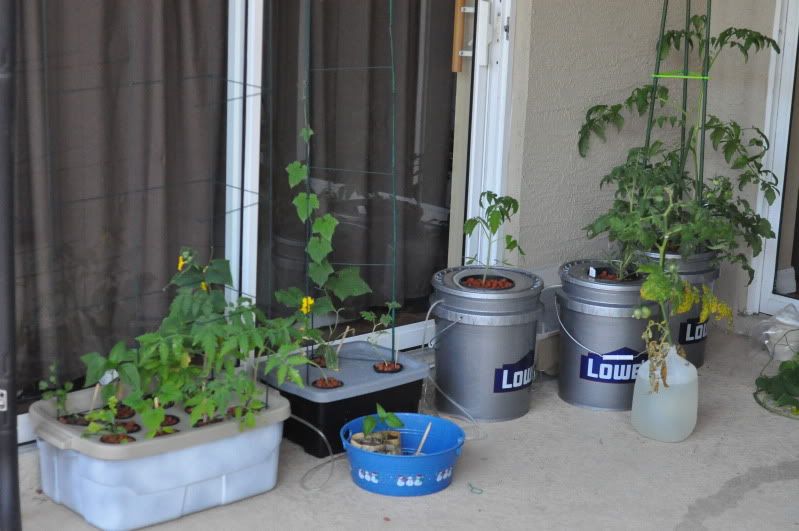
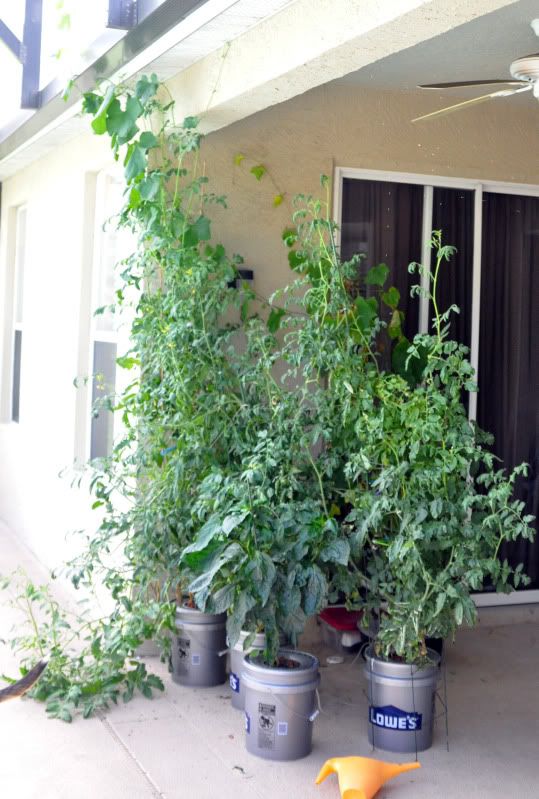
All my guys together at about 6 weeks:


I got impressive growth at the very beginning and they shot ahead of my soil plants. Then a mysterious brown slime attacked all of my plants and for nearly a month, they didn't grow, they wilted and were generally traumatized.


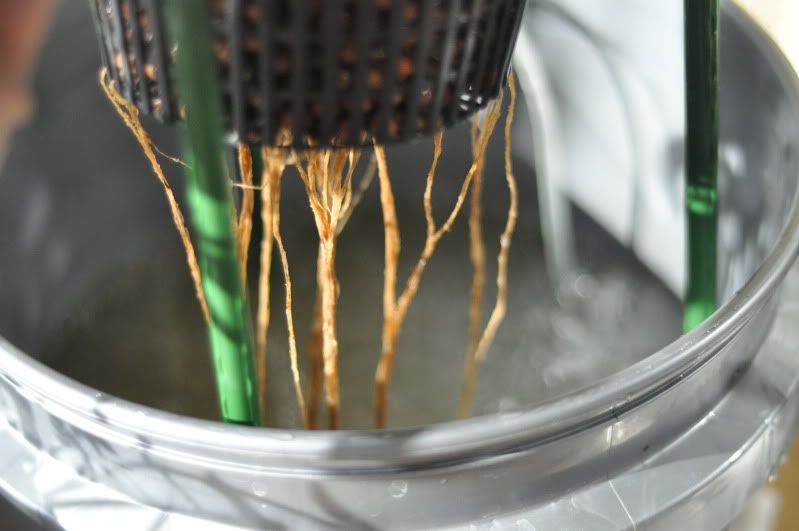
Those should be healthy white roots. Not pictures are the huge globs of nasty brown stuff floating in the water. I googled and searched for solutions, trying constant changings, spraying the roots, hydrogen peroxide, beneficial bacteria and fungus and then finally came up with a last ditch effort to stop feeding the slime. I cleaned everything out and put the plants in plain water, no nutrients, no nothing. Within two days, the slime was completely gone forever and the plants rebounded immediately. All that work and the solution was the simplest, of course!

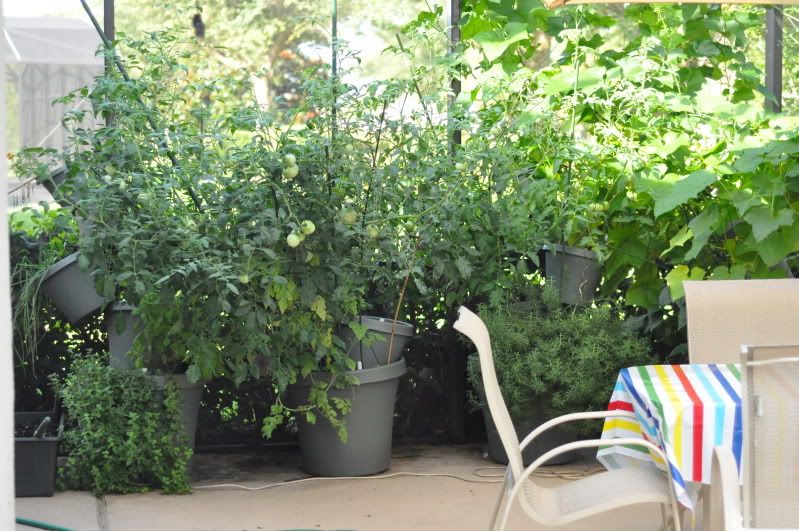
The Rubbermaid totes (and idea I got off youtube) ended up being way too crowded. I won't use those again except for maybe lettuce. The buckets work great and I ended up with tomatoes and peppers that did vastly better than my soil ones overall and are still producing now:

Friday, October 7, 2011

Gardening part 1

This backtracks a bit to show what I started last spring before I make another attempt for fall. (Floridians mostly garden in spring and fall.)

I have a pool and screened patio, and like most Central Floridians, not much yard besides that, unfortunately. I've tried gardening outside the screened area, but I tend to forget what I can't see, so that hasn't fared well. This spring I found myself looking for some urban solutions and found sub-irrigation or self-watering. In an attempt to combine this with a tower design I had already used successfully, I designed some towers with PVC and pots we already had and filled in with a few extras.

This is the PVC structure that will hold up the tower. At the bottom is the sub-irrigation portion: PVC tube (front bottom) leading down to a drainage tube. Since the bottom of the pot wasn't sealed, I lined it with a trash bag to hold water in the bottom few inches below the drainage hole I drilled in the side.

What didn't work: The PVC held fine, the pots did not. The weight from the pots above broke through the side of the bottom pot in every tower as soon as they were filled with plants and heavy from watering. Maybe if I had capped the PVC or reinforced it somehow, it would have worked.


The finished towers. You can see the drainage holes for the bottom pots. I did not put drainage holes on the ones above because they have PVC tubes coming up through the bottom and will leak naturally. The PVC you see sticking up is where you water - this part actually worked well. In years past, I'd be watering 2-3 times a day in the middle of summer and everything would still wilt.

What didn't work: I ended up having to move these pots much, much farther apart as the plants grew and crowded. I always seem to forget just how much bigger things get when I'm looking at tiny seedlings.


For all that didn't work, I must have done something right. This is our monster tomato tree - the top is about 8' tall. You might also be able to see a bit of oregano, basil and green onion to the left.


All four towers filled in and pushed a few feet apart:


If you're wondering, the plants on the right that you may or not be able to see are rosemary, another tomato, luffa and a pepper plant. There are other smaller plants mixed in but I doubt they're visible!

Thursday, October 6, 2011

Restarting this blog

I am going to attempt to, but instead of just doing homeschooling, I'm going to do a bit of everything going on. I'll add anything in from homeschooling that is noteworthy, but frankly, we're just not that exciting as homeschoolers.

I'll have a lot more to post about if I add in all my little projects. I've come to realize I'm like the nutty professors you see in various movies with a million crazy projects going: tadpoles, brine shrimp hatching, hydroponics, aquaponics, general house organization, robotics, gardening, photography, soccer. It's either cut back (absurd!) or do something with it!